
+ inload: Alaitoc is Ready +

'Eldar Titans are great, bipedal combat walkers produced by the Craftworld Eldar, the Asuryani.
Similar to the lumbering Titans that are the greatest war machines of the Imperium of Man, Eldar Titans combine grace, speed and deadly firepower.
These tall, slender war engines are built to be aesthetically pleasing as well as fully functional, like all Eldar technology, and possess a grace and beauty rarely seen amongst the deadly implements of Mankind.
Eldar Titans move with a smooth agility and grace unachievable by the Imperium's Titans.'
+++
+ There have been a few different approaches to creating rules for Eldar in Adeptus Titanicus. Here are a couple I've stumbled upon. +
+ Both look good to me – and the reason I'm interested in 'em is that, in the absence of GW's own version, I've laid my hands on a couple of 3D prints that I've started to build and paint. +

+++
+ Building the Phantom +
+ The model came in five parts – head, torso and groin, back piece and two legs – plus weapons. There were six upper arms plus a variety of weapons. While fragile, the model built up quite nicely. +
+ I've magnetised the arms at the shoulder using 5mm x 1mm magnets, though at the moment I've only built the following arms. I needed to use a spot of greenstuff to make a flat surface inside the socket, and trimmed the shoulder joint flat to attach the magnet. +

+ As you can see from the comparison shot above, the figure's slightly taller than I had anticipated, but that might simply be unfamiliarity with the current Phantom sculpt (and the pose of this particular Warlord). However, I don't think it's far off at all – here's the only shot I could find of a comparison of the 28mm Phantom and a 28mm Warlord (taken from The Independent Characters' Facebook page). +

+ Whether the proportions and scale are 'correct' doesn't really bother me here. I rather like the exaggerated alien proportions of the sculpt, and when – hopefully – GW come out with their own plastic version, these will likely be around the right size. While variety of standardised tanks or too much dissonance between the scale of infantry can be a bit of a bother, perhaps it's fitting that the organically grown artwork-warmachines of the Eldar vary a bit. +

+ Anyway, enough preparatory apologetics. Here's a shot of the rear. I think the space between the legs is ripe for a banner, don't you? +

+ Another scale shot, against the Reaver Titan 'Old Spiteful' of the Legio Sumer-Nikator. +
+++
+ Painting the Phantom Titan: theoretical +
 |
| + Work in progress + |
+ Eldar Titan background hasn't had much of an update since 1988(ish), when the Eldar rules came out for the original Adeptus Titanicus. Back then, the Craftworlds were very loosely-defined, and Titans were organised into Clans (the equivalent to Imperial Legios). Their relationship to the Craftworlds was fairly nebulous and ill-defined, but the implication was that the Clans lived aboard Craftworlds, but had their own colour scheme etc. +
+ There was a later Epic expansion called Swordwind that had some tiny snippets of Eldar background, and this only touched on Titans fairly lightly. When the modern 40k-scale Phantom was released, it was accompanied by the Doom of Mymeara, an Imperial Armour book that had a little bit of 'modern' background for the Eldar Titans. The Clans weren't mentioned – though absence of evidence isn't evidence of absence – and the rules mentioned 'Conclaves', which may be GW's then-equivalent to Clans. As far as I'm aware, that's as much as we've had. +
+ Anyway, the space is pretty open for paint schemes, and I think you could quite happily paint your Eldar Titans in Craftworld colours, or a completely unique scheme. I decided I'd use this as an opportunity to play about with the Alaitoc scheme, ahead of working on my 40k army. +
+ Painting the Phantom Titan: practical +

+ Having built the model, I textured the base in a similar way to the Epic basing tutorial here [+noosphericinloadlink embedded+]. This was allowed to dry, then I sprayed the base with Halford's brown spray from their camo range. Once dry, I used a piece of kitchen paper to protect the base, took the (magnetised) arms off and sprayed all of the components using GW's Wraithbone spray. +
+ Knowing that this was going to be a fairly involved painting project, I then painted the base – this is a little psychological tactic I use to help make me feel I'm making some progress. Having something finished can help! +

+ The weapons +
+ From there I started with the basecoats, laying down a thin coat of Army Painter's mummy robes on the weapons and internal joints. Once dry, these had a coat of Seraphim sepia. I did the same with blue, using Vallejo's Prussian blue – though I didn't even finish the blue before moving on to the yellow, as time was ticking on and I thought I'd like to tackle the focal point of the head. +
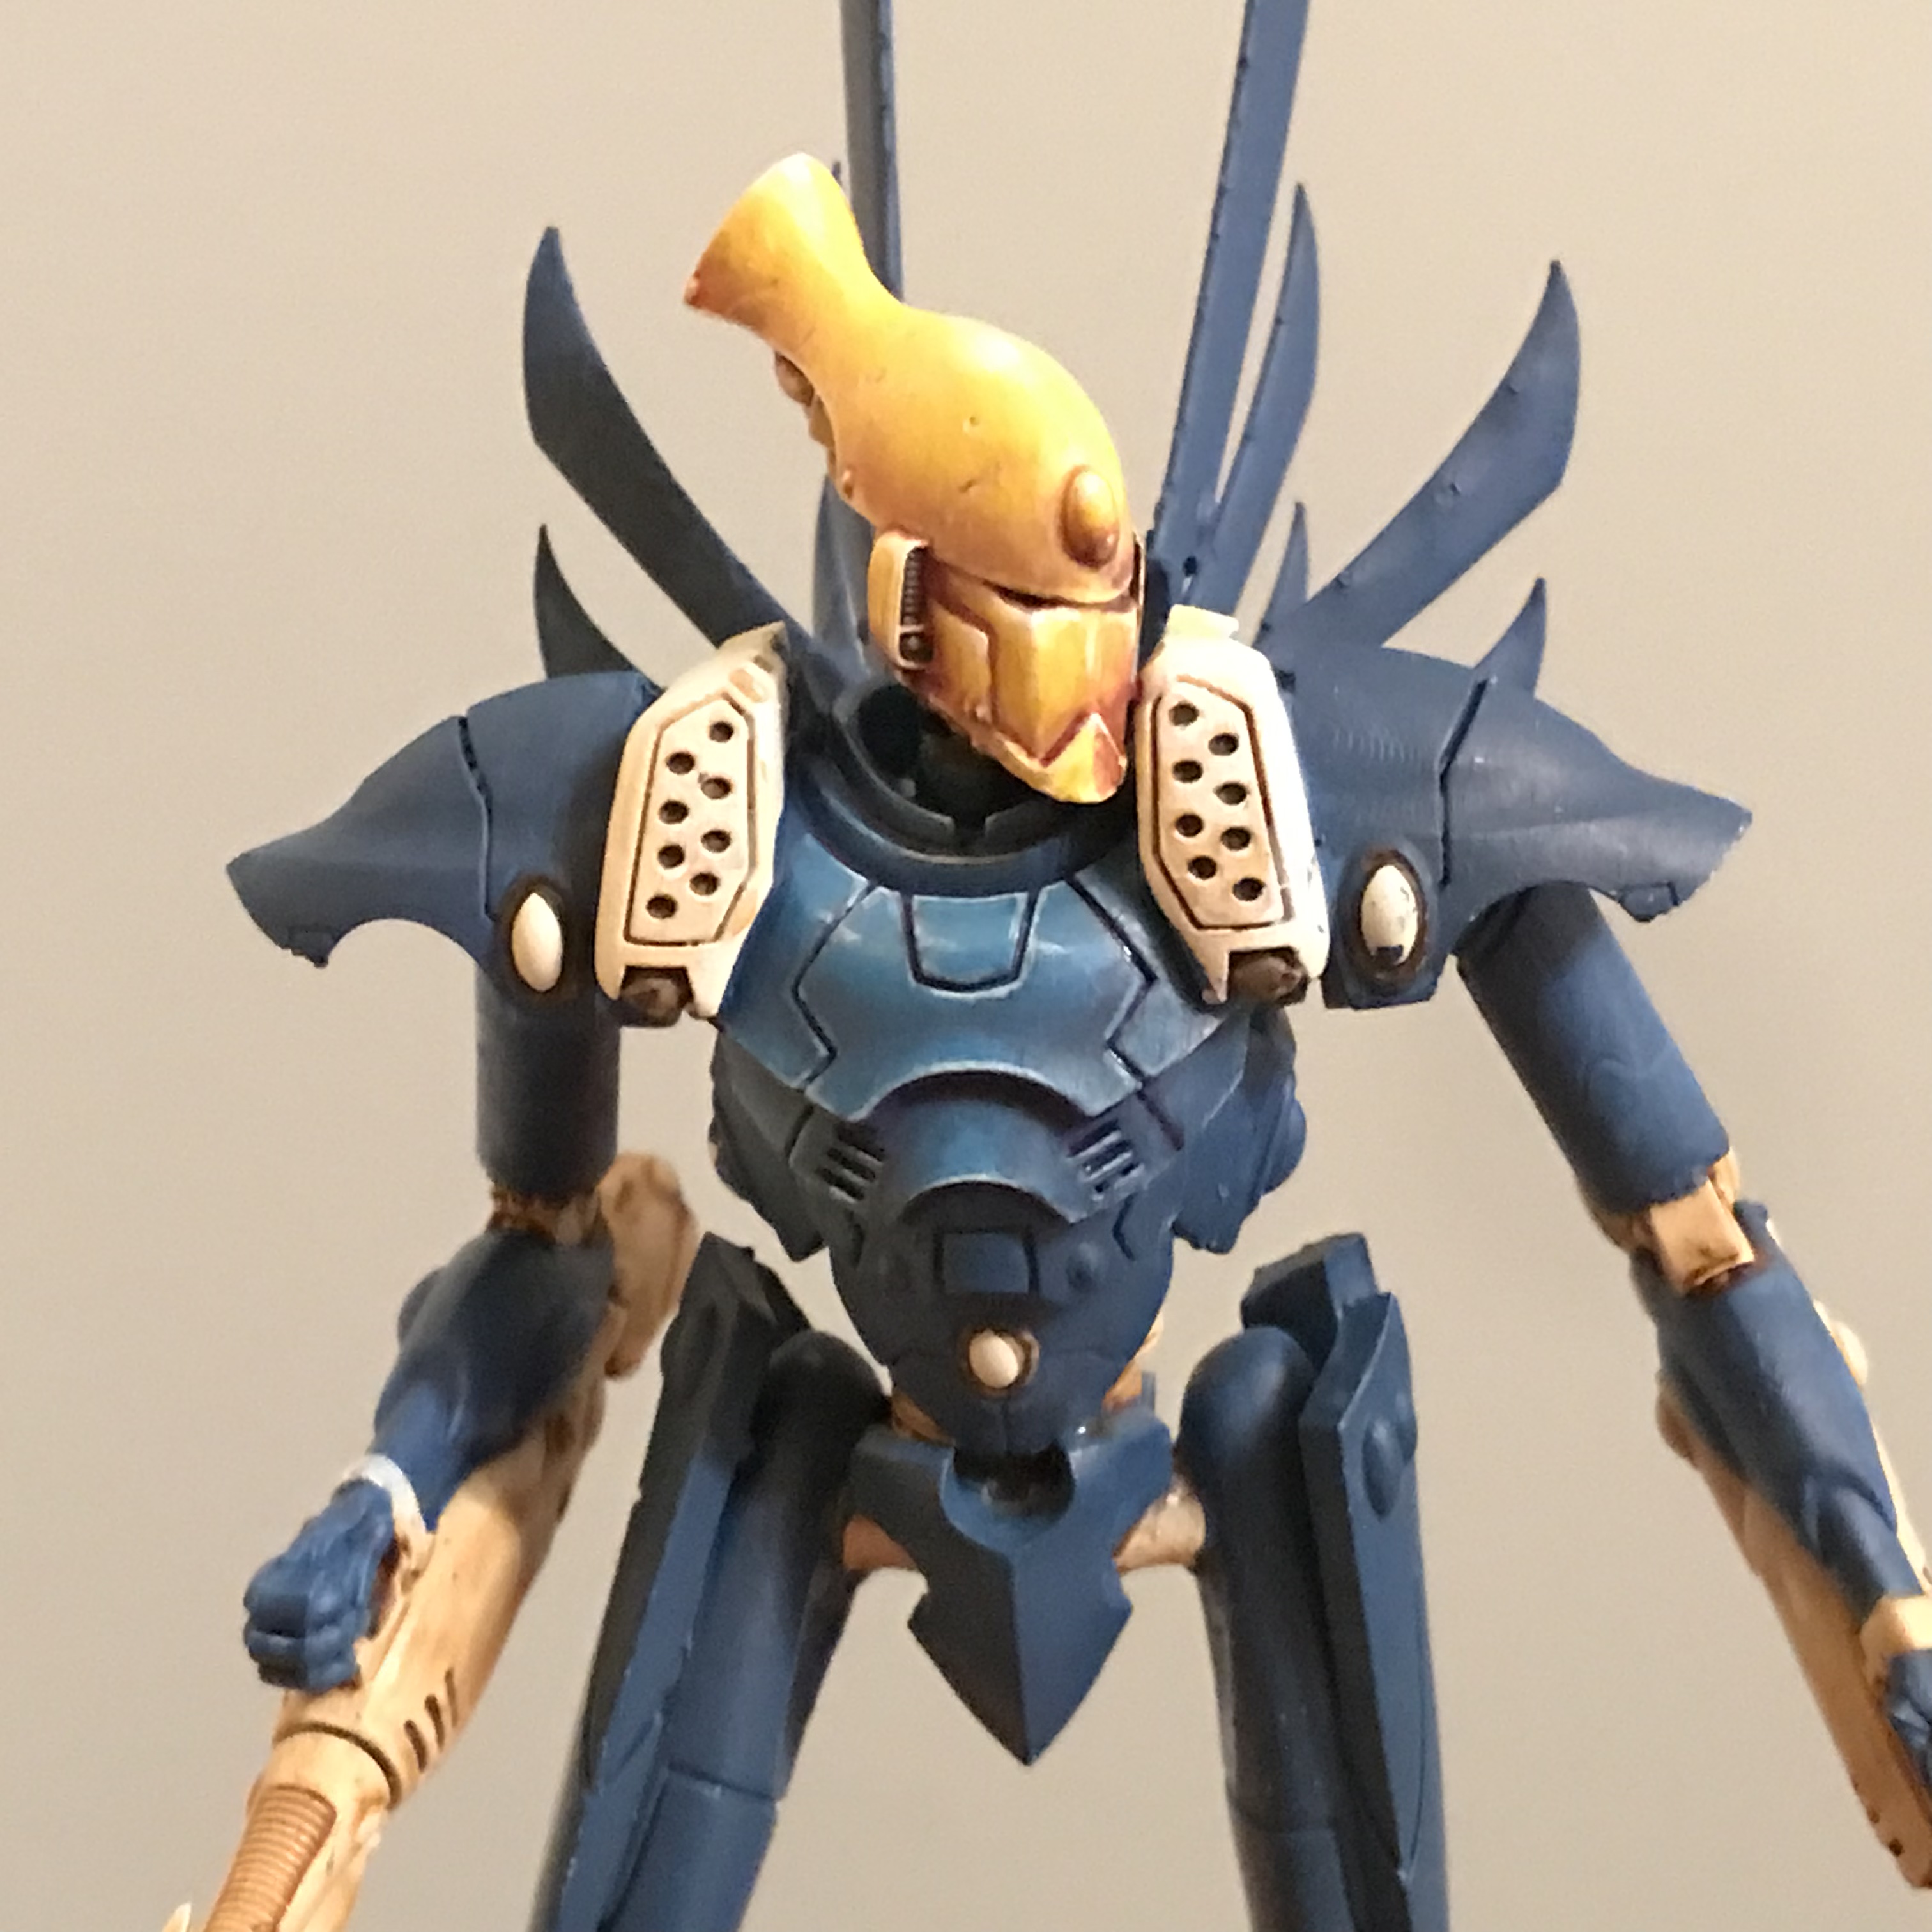
+ The yellow +
+ Here I used a base coat of cadmium yellow (Golden, but any equivalent, such as Phalanx yellow or Yriel yellow, would work) as the base coat. +
+ After that, I used lots of very thin glazes of Liche purple to build up the shadows. Next, I added white (Vallejo cold white, but again any white would work) to the yellow for the highlights. +
+ A few glazes of Lamenter’s yellow (or thinned yellow ink) went over the whole thing to enrich the yellow, then I repeated the shading and highlighting in finer areas to reintroduce the contrast. I went back and forth a bit here as I was enjoying the process. +

+ At this stage it was looking good to me, but I wanted to help give it a bit more of a sense of scale. I'm also in two minds whether to leave the 'blister' on the forehead or repaint it as a gem. +

+ A few little marks and scars were added with the same Liche purple and highlight yellow, and I felt this subtle weathering was enough. Less is more for Eldar, I think. +
+ The blue +

+ With the head in place, I went back and completed the base coat with thinned-down Prussian blue and allowed it to dry. +
+ Working outwards from the head, I started with the chest panel. Using a wet palette (a piece of damp kitchen paper wrapped in baking parchment), I mixed a Teclis blue into Prussian blue and began gradually highlighting. +
+ To get the placement of the highlights right (this is the part I find tricky for curved surfaces), I simply held the model at a consistent angle under my modelling light, then put very thin paint where the light fell. With the positioning correct, it was then a case of layering to blend, blur and soften the edges of these stark, basic highlights back to Prussian blue. +
+ With the three-dimensional highlighting done, I pushed the extremes by adding white to the Teclis blue/Prussian blue mix, and picked out a few edges. Reflected light – that bouncing back off the environment back onto the model, rather than directly from the light source – was added with a more blue version of this mix, to ensure the brightest highlights faced the light source. +
+++

+ Here's how the model currently stands. I'll continue to work outwards, I think, tackling each area as I come to it.
 |
| + Alright there, shorty? + |
+++
:O
ReplyDeleteThis is awesome. When finished it's going to be ace. Can't wait for it
Awwwww, this is so dope!!!! What a nice paint!
ReplyDeleteGorgeous paint job. I wonder if this is my remix of the titan.
ReplyDeleteVery cool, where is the 3D print from?
ReplyDeleteMORE
ReplyDeleteIs there a way for us to buy the 3d prints as well, or the even the files?
ReplyDelete