Tuesday, February 25

+ inload: Alaitoc Eldar +

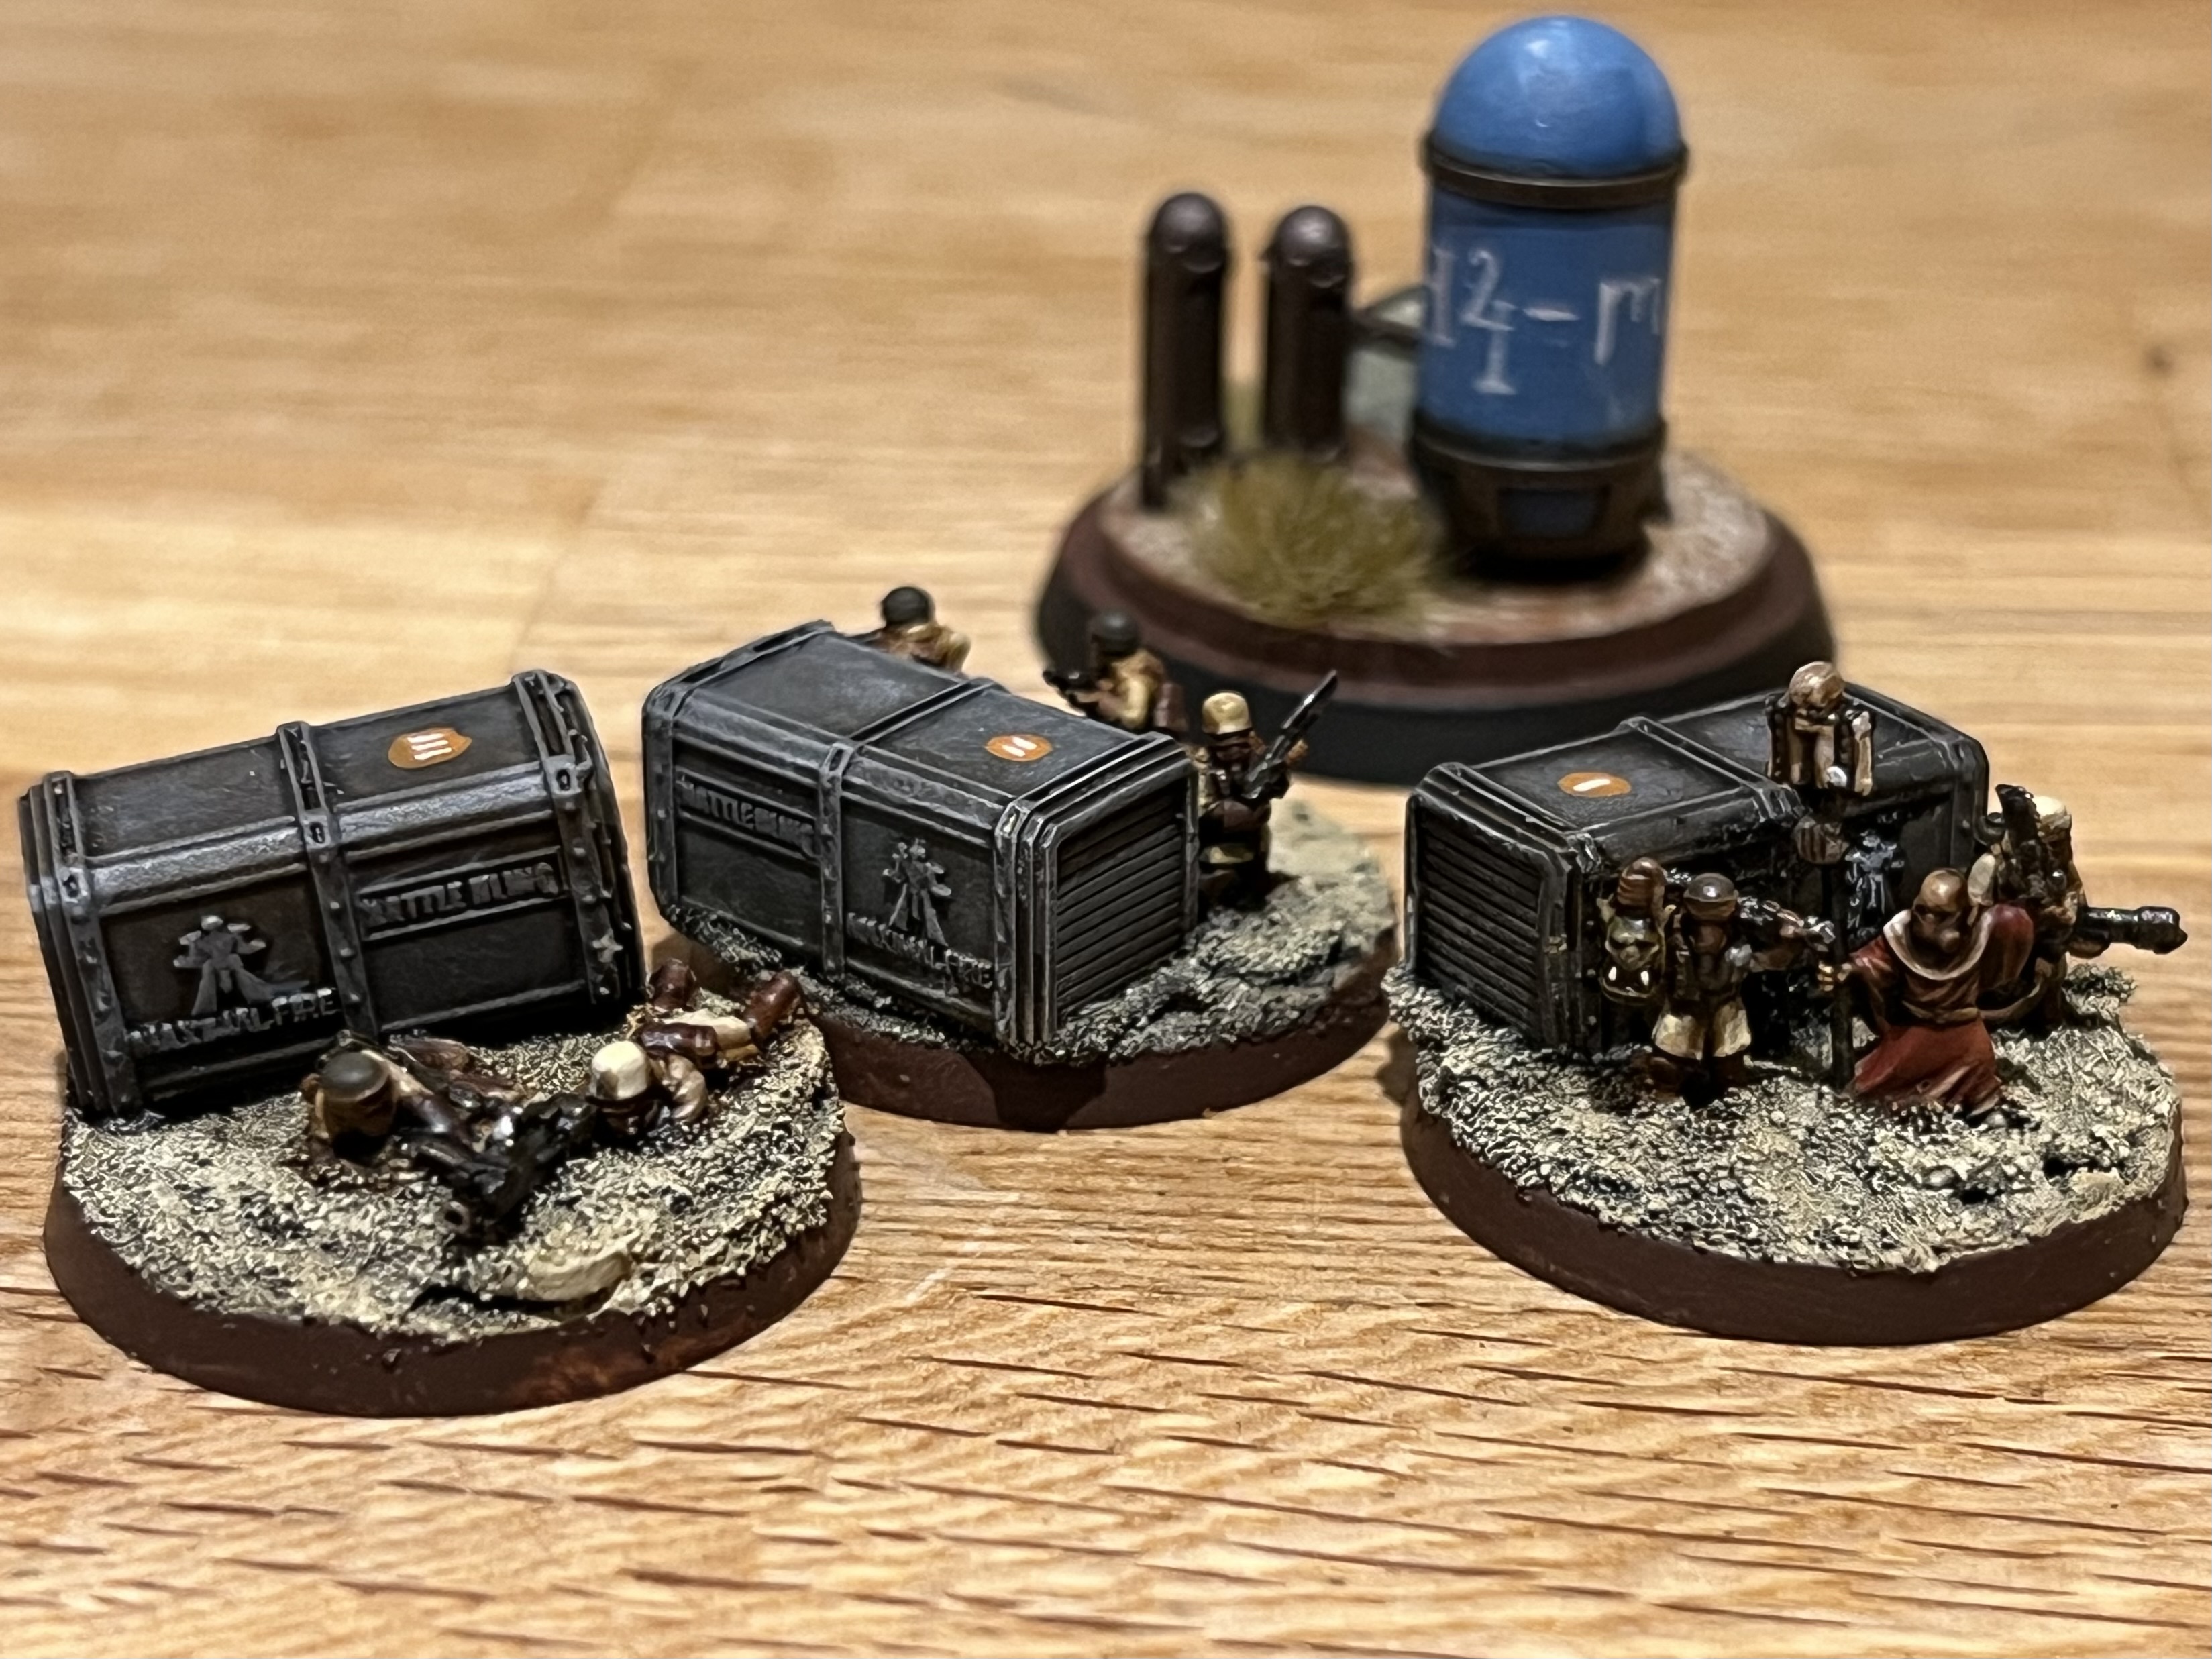
 + Visions of the past +

+ Refreshed by a visit to the Metalican Titan-forges, I've found myself on a bit of a hobby buzz at the moment, and have started afresh on some older projects. I'll look in some closer detail at these over the next few inloads, so today a simple overview. +

+++

+ Alaitoc Eldar +

A slow-burning project, my Alaitoc Craftworld Eldar [+noosphericinloadlink embedded+] have received some love recently as I finally got my hands on the last few bits and bobs I needed for the next two Guardian squads. Coupled with that, my old Skumgrod Bob Hunk and I have been tinkering with some 2nd edition 40k gaming, so the fires are up.

The project as a whole is unapologetic wallowing in nostalgia for me, and a personal modelling and painting exercise rather than anything else. As with my Blood Angels, these are an homage to a particular studio army (WD138 this time), and the aim of the project is very similar: to answer the question, 'What would the army look like using modern materials?'

+ Resizing Dire Avengers +

As the Dire Avenger below demonstrates, the overall answer is 'not that different'. I've mentioned before how Jes Goodwin nailed the Eldar look and feel first time. The conversion work for my plastic Dire Avenger was centred around getting the older Dire Avenger kit to fit alongside the more recent releases. While subtle, the new Eldar gain some height through longer abdomens, and have broader and deeper chests than the older plastic kits (Guardians and Dire Avengers).

The retrohammer update

The original


I therefore took the new Guardian as the basis, using the combined torso and legs piece and back piece. These had the shoulder pads removed and replaced with the larger, pointier ones from the Dire Avenger kit. The other bits are either simple kitbashing or very minor trimming and fiddly bits, like the back targeter vane and taking the sights from an Avenger Catapult and popping it on the Guardian Shuriken Catapult. 

This last detail is worth noting: I've used the original (now very small) Shuriken Catapult on the Guardians, so decided to use the new Guardian Shuriken Catapult in place of the larger Avenger Catapult in order to minimise the apparent jump in size.

The result is a nice proof-of-concept, though I'm tempted to use the Dire Avenger arms for subsequent models, as they've got some additional forearm detail. The whole process reminded me a lot of what I try to do when 'truescaling' Space Marines, as my aim there is to end up with a model that doesn't draw attention, because it doesn't look like a conversion. My hope is that the Dire Avengers will fit in right alongside the rest of the army (which otherwise uses the new sculpts), and be a cohesive, coherent part of the army as a whole.

+++

+ Updating Guardian Close Combat Squad +

The first couple of these were polished off two years ago [+noosphericexloadlink embedded+], but the squad is now finished. As elsewhere, I've tried to evoke the originals through parts choice and pose, but have made some slight changes to take advantage of the modern materials. 


The originals are lovely models, but being identical to the other Guardians, they've got the same rather braced, static poses. I decided I'd use the running poses from the new kit for this close combat squad, which helps distinguish them from the Guardian squad (with lasguns) and Guardian Battle squad (with shuriken catapults). 

This obviously changes the poses quite considerably, but I hope the choices I've made with the arms mean that the individual models are still recognisable one-on-one when shown alongside the inspiration. It's a tricky balance. There's homage, and then there's being slavish. I want enough freedom to change things for the better (or at least more to my personal taste) where I can. Otherwise, I might as well go proper oldhammer and just source the original models. A fun collecting endeavour in itself, but not what I'm after here.


Annoyingly, I remembered – after priming the first three – that I'd intended to trim the side vents on the helmets to give a slimmer profile and get closer to the originals, and so you can see how I've had to go back and scrape them off. The new members have since had their base texture added, and a coat of primer (Wraithbone) applied to the complete squad, so they're all ready for paint.

+++

Thursday, February 13

+ inload: Steel Hammer of Legio Metalica +

+ Beachhead MMXXV +


+ If you've been inloading the recent datascreeds, you'll know that I've put all other hobby projects on hold to get a Titan maniple painted for Maximal Fire's annual Adeptus Titanicus tournament at Beachhead in Bournemouth. I was painting up to the deadline, but managed to take a complete maniple and accompanying themed markers down. This inload gives a very brief rundown on my experiences of my first tournament, and then we look at the models. +

+++

+ Beachhead 2025 in brief +

Not to bury the lede, I had a fantastic time. From gaming to socials to the overall event, if was really, really fun. I was a little apprehensive in going to a competitive event (my previous weekends have been narrative only), but I couldn't resist the siren call of the biggest Titanicus event in the world – and I was really pleased with how relaxed and friendly everything was. A very collegiate atmosphere with a mix of what were clearly old friends welcoming in newcomers like me; and all eased along by everyone being invited to bundle along for dinner and drinks at a pub round the corner – very much appreciated.

The event itself, smoothly run by Maximal Fire and sponsored by Battle Bling, took the form of five 1,950pt games. You can see the event pack here, if you'd like the nitty-gritty [+noosphericexloadlink embedded+], but the take-away for me was how varied the forces were, and how little the expectations you might take from noospheric chat – 'tournament-pattern this', and 'such-and-such weapon is useless' – really applied to the stuff people brought. I half-expected to see the top tables populated purely with cookie-cutter lists, or very similar model choices, but things were very varied. Admittedly, I didn't scale the heady heights of the top tables – 13 was my highest placing, and with one win, one draw and three losses, I think I came 38th overall – but certainly my impression was that Adeptus Titanicus is a very varied game. 

So on top of all that, there was great prize support – lots of awesome trophies and cool prizes to be won, (including a Warbreaker Titan!) and little goodie bags provided by the organisers too. More on those in another inload.

Overall, I'd thoroughly recommend grabbing a ticket for next year – just leave one for me!

+++

+ Steel Hammer – Malleo Chalybis +

Princeps Kurtiz Mannheim – sometimes styled as 'Kurt Manneheim' in some Imperial records – was the commander of the Legio Metalica Titan Legion assigned to Armageddon during the Second War for Armageddon. 
Mannheim was obliged by his oath of loyalty to the Emperor to follow an insane order of the corrupt and incompetent Planetary Governor of Armageddon, Herman von Strab, to stem the onrushing tide of Waa-Ghazghkull, even though the Imperial forces would be outnumbered by more than three to one. 
Knowing it would be his final mission, Mannheim dressed in his best uniform, said goodbye to his wife and children and climbed aboard his Warlord Class Titan, Steel Hammer, with pride. 

[+Later Heroes of the Imperium, Vol MCMXX+] 


Themed around the Second War for Armageddon – and if you'd like to read more on that, check out The Ashes of Armageddon noospheric blognode – my M41-era Maniple sneaked into the Horus Heresy-era Beachhead games. I'd have felt a bit conflicted about this at a themed or narrative weekend, but as this was more of a pure gaming event, I laid my worries to rest. 

I've written at length in the previous inloads on how I've painted, so you can divert your optics and cerebromanifold to this noospheric flow-cascade if you'd like to dig deeper into how this Legio Metalica project has unfolded. Here, then, I'll just highlight a few little bits of the finished Titans that I thought you might like to see or that I'd like to wax lyrical about, and show the finished pieces as they appeared on the day.

+++

+ Battle Builder Nameplates +

I've added names to models before – long time inloaders will remember by formative Blood Angels from the 90s, and more recently my Blood Bowl team, Chaunterwick Unathletic, got Blackletter freehand names and positions on their bases – but generally I prefer to treat bases quite plainly, to help frame the models.

The monolithic and highly-revered nature of Titans, however, seems to deserve something more – and so I've used Battle Builder's [+noosphericexloadlink embedded+] name plates for this maniple. If you haven't tried it out, go give it a spin – the interface is very intuitive and fun to use, and certainly helped me to avoid analysis paralysis: you can see immediately exactly how the nameplates are going to look on the bases. There's even a discount code for first-time users.


In painting these, I wanted to strike a balance between the names being clear to see, but not so eye-catching that the nameplates distract from the Titan itself. I opted for a gold frame, black field, and a (necessarily!) quick and simply reflective effect, which I thought was evocative of the design style of the 90s. This was achieved by painting the letters with Balor Brown, then painting the upper and lower quarters of each letter with Averland Sunset, then the very top and bottom with Mummy Robes (Bleached Bone/Ushabti Bone).

The result then clearly stands out from the base, but since it uses very similar colours as those of the base itself, it doesn't draw the eye too much.

+++


The little Steel Legion troops and pillar are included to give a sense of monumental scale to the Titan through visual contrast. The paint scheme is a simplified version of that used for my 40k scale Steel Legion – you can inload the datascreed here: [+noosphericinloadlink embedded+].

+++

Considering how experimental and quick everything was, I was pleased with how the transfers, varnish and oils all worked together. I think all of these techniques and approaches have given a Titan maniple that both hangs together well, and doesn't look completely out of place alongside my other forces. 


The armour plates here are available from Battle Bling – you can read my thoughts on the Reaver equivalents here – and were designed by the mighty @argo_jasonm

Also of note in the above picture are the void shield generators, which are painted with my new favourite paint, Runelord brass, and then a touch of Nihilakh oxide to give a weird greeny glow. Very quick and simple.

+++


The Graviton Ruinator is based on the Armiger Gravity Pulsar from another third party designer/seller: Taro Model Maker. Very nice quality, and sufficient detail to work well on a big (albeit small scale) model like Steel Hammer.

Talking of armament, Steel Hammer benefitted from having very little existing information on him – the little blurb at the top detailing his Princeps' last command is pretty much all that exists. Except that Steel Hammer is a Warlord, there's no further info. What could have been unsatisfying for a retrohammer project like this actually proved to be a lifesaver. It allowed me complete freedom in terms of appearance and equipment, and from a gaming perspective, gave me a blank slate to load him out with guns to cover weaknesses left by the rest of the Maniple.


As things turned out, he was the only Titan of mine that survived all five games! I had lots of nice comments about the maniple, too.


As well as showing off the back view of Steel Hammer, I think this shot illustrates the dynamism of the pose. This is set off by the banners, which were made from the foil from a wine bottle capsule (and what more excuse do you need for a glass?)

+++


... and here he is in all his pomp and glory, ready to stride the stars and bring the wrath of the Emperor to the benighted fools that oppose Him-on-Terra.

While my gaming prowess proved lacklustre (and full credit to all my awesome opponents), Steel Hammer and the rest of my Iron Skulls maniple created stories, (mostly) survived to fight another day, and most importantly, was great fun to play with.

+++

+ Objective markers +

As well as sharing the finished pictures of the other Titans over the next few posts, I wanted to kick off with these objective markers I made for the event. The first picture represents the three markers you need for ‘Secure and Hold’ – doubtless critical materiel for the ongoing war.


The second picture shows an officer of the 7th Army alongside an Astropath and a Magos from Forgeworld Metalica – all critical personnel for the 'Defend and Extract' mission.


… and the final picture shows two Titan Hunting Infantry teams, so the Steel Legion can pop up and threaten any Gargants.


Thanks again to all the people I met, dined with and played against; it was an absolute pleasure from beginning to end, and thoroughly recommended.

Really reignited my passion for Titanicus, and I’m looking forward to sharing the Titans with you over the next few posts.

+++

Thursday, February 6

+ inload: Oil dot filters +

+ Toll the Great Bell Twice! +

With push of button, fire the engine and spark turbine into life. +

+ Metalica walks. The sacred unguents have been applied and the necessary sacrifices offered up to the Machine Spirits of five Engines. Bar a few relatively quick details, the painting is all done, and it's time to start preparing for tabletop battle... +

 +++

+ [Insert heavy metal song pun here +]

+ Precision strike: cutting it close +

Two days to go, and as you can see above, the oils are on and drying. The nice thing about oils is their long working time. There's no rush, and no stress (well, no additional stress about timings!), so you can gently tick through the session, and find them perfectly workable at the end. I used a couple of techniques here: oil dot filters, and washes. 

The washes are done almost exactly as with acrylics: thin the paint down and apply with a brush. The main difference is that I suggest you use rather less oil paint than you would acrylic paint as they'll take much longer to dry. Oil dot filters, however, are a new technique to the blog, so here's the rundown:

+ Oil dot filters +

The purpose of this technique is to add interest and subtle variance to a flat area, creating a sense of scale and texture. The result is a little like a glaze, in that you are aiming to work over the area evenly (rather than to avoid/fill recesses, for example). It differs from a glaze in that you're not aiming for a flat colour, but rather a variegated result.

I started by squeezing out pea-sized amounts of burnt sienna, raw sienna, Winsor lemon, cadmium red, and lamp black oils onto a palette, then used an old split brush to stipple lots of small dots of the various colours over each Titan in turn. The paint was used neat, and the brush was dry. Rather than rinse it between colours, I simply wiped the excess away to keep the brush dry.

Once that was done, I swapped to a goat hair fan brush [+noosphericexloadlink embedded+], as these are relatively cheap and sturdy. I loaded this with thinner (I used Sansodor [+noosphericexloadlink embedded+]).

I then slowly and steadily drew the fan brush directly downwards over each panel in turn. This draws the oil paint downwards from each dot, softening and creating gentle streaks. At the bottom of the area, lift the brush away, wipe it on a cloth, and repeat until the effect is as you want it. The more brushstrokes you use, the more oils will be drawn away. The key is to work steadily and evenly, and always in one direction.

+ The finished result – compare this with the pre-oils version below. +

+ Strike to enlarge. +

+ Oil filter keynotes +

  • Ventilate  Throw open a window. Odourless or not, solvents in the respiro-sacs aren't very good for you. 
  • Cede control  When stippling, don't worry about an even effect or coverage. Slight variation across the surface looks more natural and pleasing. Likewise, having some dots containing more paint than others will give variety of tones in the streaks.
  • Adapt  Remember that the Titan is not locked in the pose you've chosen, so look at the panel and decide on the direction before working straight down to the base. Rainfall and similar weathering will carry dirt and grease straight down whever possible, so consider where 'down' is likely to be for the majority of the time.
  • Vary  You can also do oil filters in circles or more random directions to add interest to flat areas.

+++

+ The Maniple +

Here're a few hard-earned shots of the maniple as it currently stands:

+ Old Three Skulls +


+ Ferratus Tertius +


+ Fors Clavigera +


+ Praeterita Carnivorus +


+++

+ What next? +

I also worked a bit more on the nameplates from Obsidian Forge last night, too. Thinking more on it, I could have used oils... but given the time pressure, I decided to stick with my comfort zone of acrylics. These have been worked up with a combination of washes and drybrushing. I'd like to polish them up a little further, but as they're functional already, that'll depend on how the rest of the 'stretch goals' go.


 And to close, as I have the shots and haven't shared them, here's a close-up of the eye lenses on Steel Hammer (pre-oils in this shot)...


... and one of the back of the Titans, to show off how lovely and clean they were before I got stuck in with griming them up!


Tuesday, February 4

+ inload: Titanic metals +

+ Sound the warhorns +

+ As you'll see, things have progressed. I've completed the trim and metals on three of the Titans (and discovered Runelord Brass, a pot of which has lurked at the back of my painting drawer for years, is an amazing colour for adding some subtle variation here.

I'd hoped to have things set for the oils to go down tonight, but with two still outstanding, I'll finish the other two before doing them all in a batch on Wednesday. That will – Machine God's mercy-be-granted – have them finished and dry ready for the weekend.

That will leave me a day's grace to polish up the 'stretch goals' of the various objectives and banners. +

+++

+ Mea Culpa – the perils of storing things in too many different places +

I had a bit of a [+CASCADE-MEMFAIL+] moment when I thought that I had ordered the wrong terminal nameplates from Obsidian Forge [+noosphericexloadlink embedded+]Champion that he is, Fraser at Obsidian Forge  read the post and immediately offered to print up a quick plate in time for me to get painted up for the weekend – what a result!

As it happened, however, when he looked back through things to ensure he was getting the name correct, he found the plate alongside the others in the digital file for my initial order... and after a bit of digging around I discovered that I had ordered it, he had supplied it – and I'd simply started painting the wrong one [+SCRAPSHUNTERRORABORT+].

So, a happy ever after to that tale, and I thought it the least I could do to share my sheepishness here and encourage you to pick up some plates (or other cool stuff) from Fraser at Obsidian Forge!

+++

+ Enough of plans, what got done? +


After painting the last outstanding weapon (Fors Clavigera's Barrage Missile Launcher) in the same way as the rest of the weapons, I turned to painting the trim, using a combination of Citadel, Vallejo and Army Painter metallics. These were added as light layers on top of the existing dark metal established right back at the start of the painting process – thus if any bits were missed, darker metal will be revealed, rather than anything bright and eye-catching.

This has given the Titans a bit more 'pop' for the moment, and the plan is to use oils to integrate the very bright areas (trim, transfers etc.) while enriching things overall.

+++


The trim on Old Three Skulls goes a long way to bringing out some much-needed contrast and visual interest to the Titan, which was otherwise looking rather red and monolithic. In particular, the gold around the head and forward shoulders (unique to this Titan) helps to tie him in with the others, addinga bit of punch that the white gives the remainder of the Maniple.

You'll also spot on these Titans that the Moderati banners have been added, too. These are made from metal foil taken from the capsule of a wine bottle – simply cut out the shape you want with scissors and wrap it around a length of paperclip. 

+++


Rounding off the trio from last night is Ferratus Tertius – or Castigator Lacrimarus. You'll spot the Titan banner (between the legs) has had the transfers applied to evoke the original. All looks a bit flat at the moment, but some highlighting and weathering will bring some interest to these bits.

+++

Monday, February 3

+ inload: Last push for Beachhead +

 + Void translation – the Metalica Home Stretch +


+ Crunch time. The event, Beachhead 2025 [+noosphericexloadlink embedded+], is in five days' time, so it's time for finishing touches. I'm confident that I'll have a playable force – the pict-capture above is not quite up to date, so there's been more progress since it was taken. Nevertheless, there's still quite a lot that I'd like to have done before they march once more in anger. +

+++

+ Holding your nerve +

Still to do:
  • Trim and metals on Steel HammerFors Clavigera, Praeterita Carnivorus and Old Three Skulls
    • This is the big one. I'd hoped to have all this done over the weekend. I need to get this done tonight, really, if I hope to get the oils on with half a chance of drying before the event.
  • Oils on all.
    • While this seems much larger, I think (hope?) this should be surprisingly quick.
  • Eyes on Steel Hammer, Fors Clavigera and Old Three Skulls
  • Moderati banners on all five, plus the big Legion banner on Old Three Skulls
  • Nameplates on Steel HammerFors Clavigera, Ferratus Tertius and Old Three Skulls
  • Paint three objective markers for primary missions: Secure and Hold and Salt the Earth; three objective markers for primary missions: Asset Protection and Defend and Extract; Titan Honour Banner for primary mission: Honour thy Forebears; Two markers for secondary mission: Deny Them.
  • Paint two markers for Titan Hunter infantry stratagem.
Between you and me, I'm not entirely confident that I'll be able to polish off all the bells and whistles that I want to get done in time, but we'll see. The good news is that one of the big stages, varnishing, is complete – and that's critical, because it's very dependent on the right conditions.


Post-varnish (I used Winsor & Netwon matt spray varnish [+noosphericexloadlink embedded+]), the transfers now look much more integrated into the painting scheme, with the shiny carrier hidden.  Just compare the picture above with the one from this earlier inload [+noosphericinloadlink embedded+], and you can see how the legion symbol now matches the reflectivity (or lack thereof) of the rest of the paint.

+++

+ Steel Legion basing +

The teeny-weeny Steel Legionaries on the bases of Steel Hammer and Fors Clavigera have been painted up, too. This is a simplified version of my Steel Legion 7th Army force scheme, which is detailed in this inload [+noosphericinloadlink embedded+]. 

+ Eeeee! Adorable mini Legion +

Why focus on this tiny detail when there's still major stuff like trim to do? Well, as the old adage goes, the things that matter most are faces and bases. Painting these was also a handy way to get an idea of how long it'll take me to do my 'stretch goals' of the objective markers and Titan hunter infantry stratagem bases/markers. Happily, they were all done in half an hour or so, and the other bits will start a little further along than these because these needed a new basecoat after getting hammered with the drybrushing on the Titan's bases.

+++

+ Battle Builder nameplates +


A good example of adding a bit of punch and interest to the bases are the nameplates, which come from Battle Builder [+noosphericexloadlink embedded+]. This example was painted gold, the panel painted black, and then the name picked up with Citadel Averland Sunset, which was highlighted up at the top and bottom to Vallejo Mummy Robes. 

It proved a fairly quick process, which sometimes proves the advantage of some time pressure. I'd been umming and ahhing over how to approach them for ages, as I wanted them both to be easily readable from tabletop distance, but not pull too much impact from the Titan itself. In the end, I really just needed to trust the process and get on with it.

+ Beautiful Obsidian Forge nameplates – but I ordered the wrong name! +

There was one fly in the ointment, however: realising that the nameplates on one of the Titans, Ferratus Tertius, doesn't match the terminal plate, which reads Castigator Lacrimarus. I'd clearly had a bit of a [SCRAPSHUNTERRORABORT] and ordered the name of the Titan that didn't make it into the final list. I will have to have a think while I'm painting, as it's too late to order another...
+++