
+ Epic scale painting +
+ Salamanders infantry +
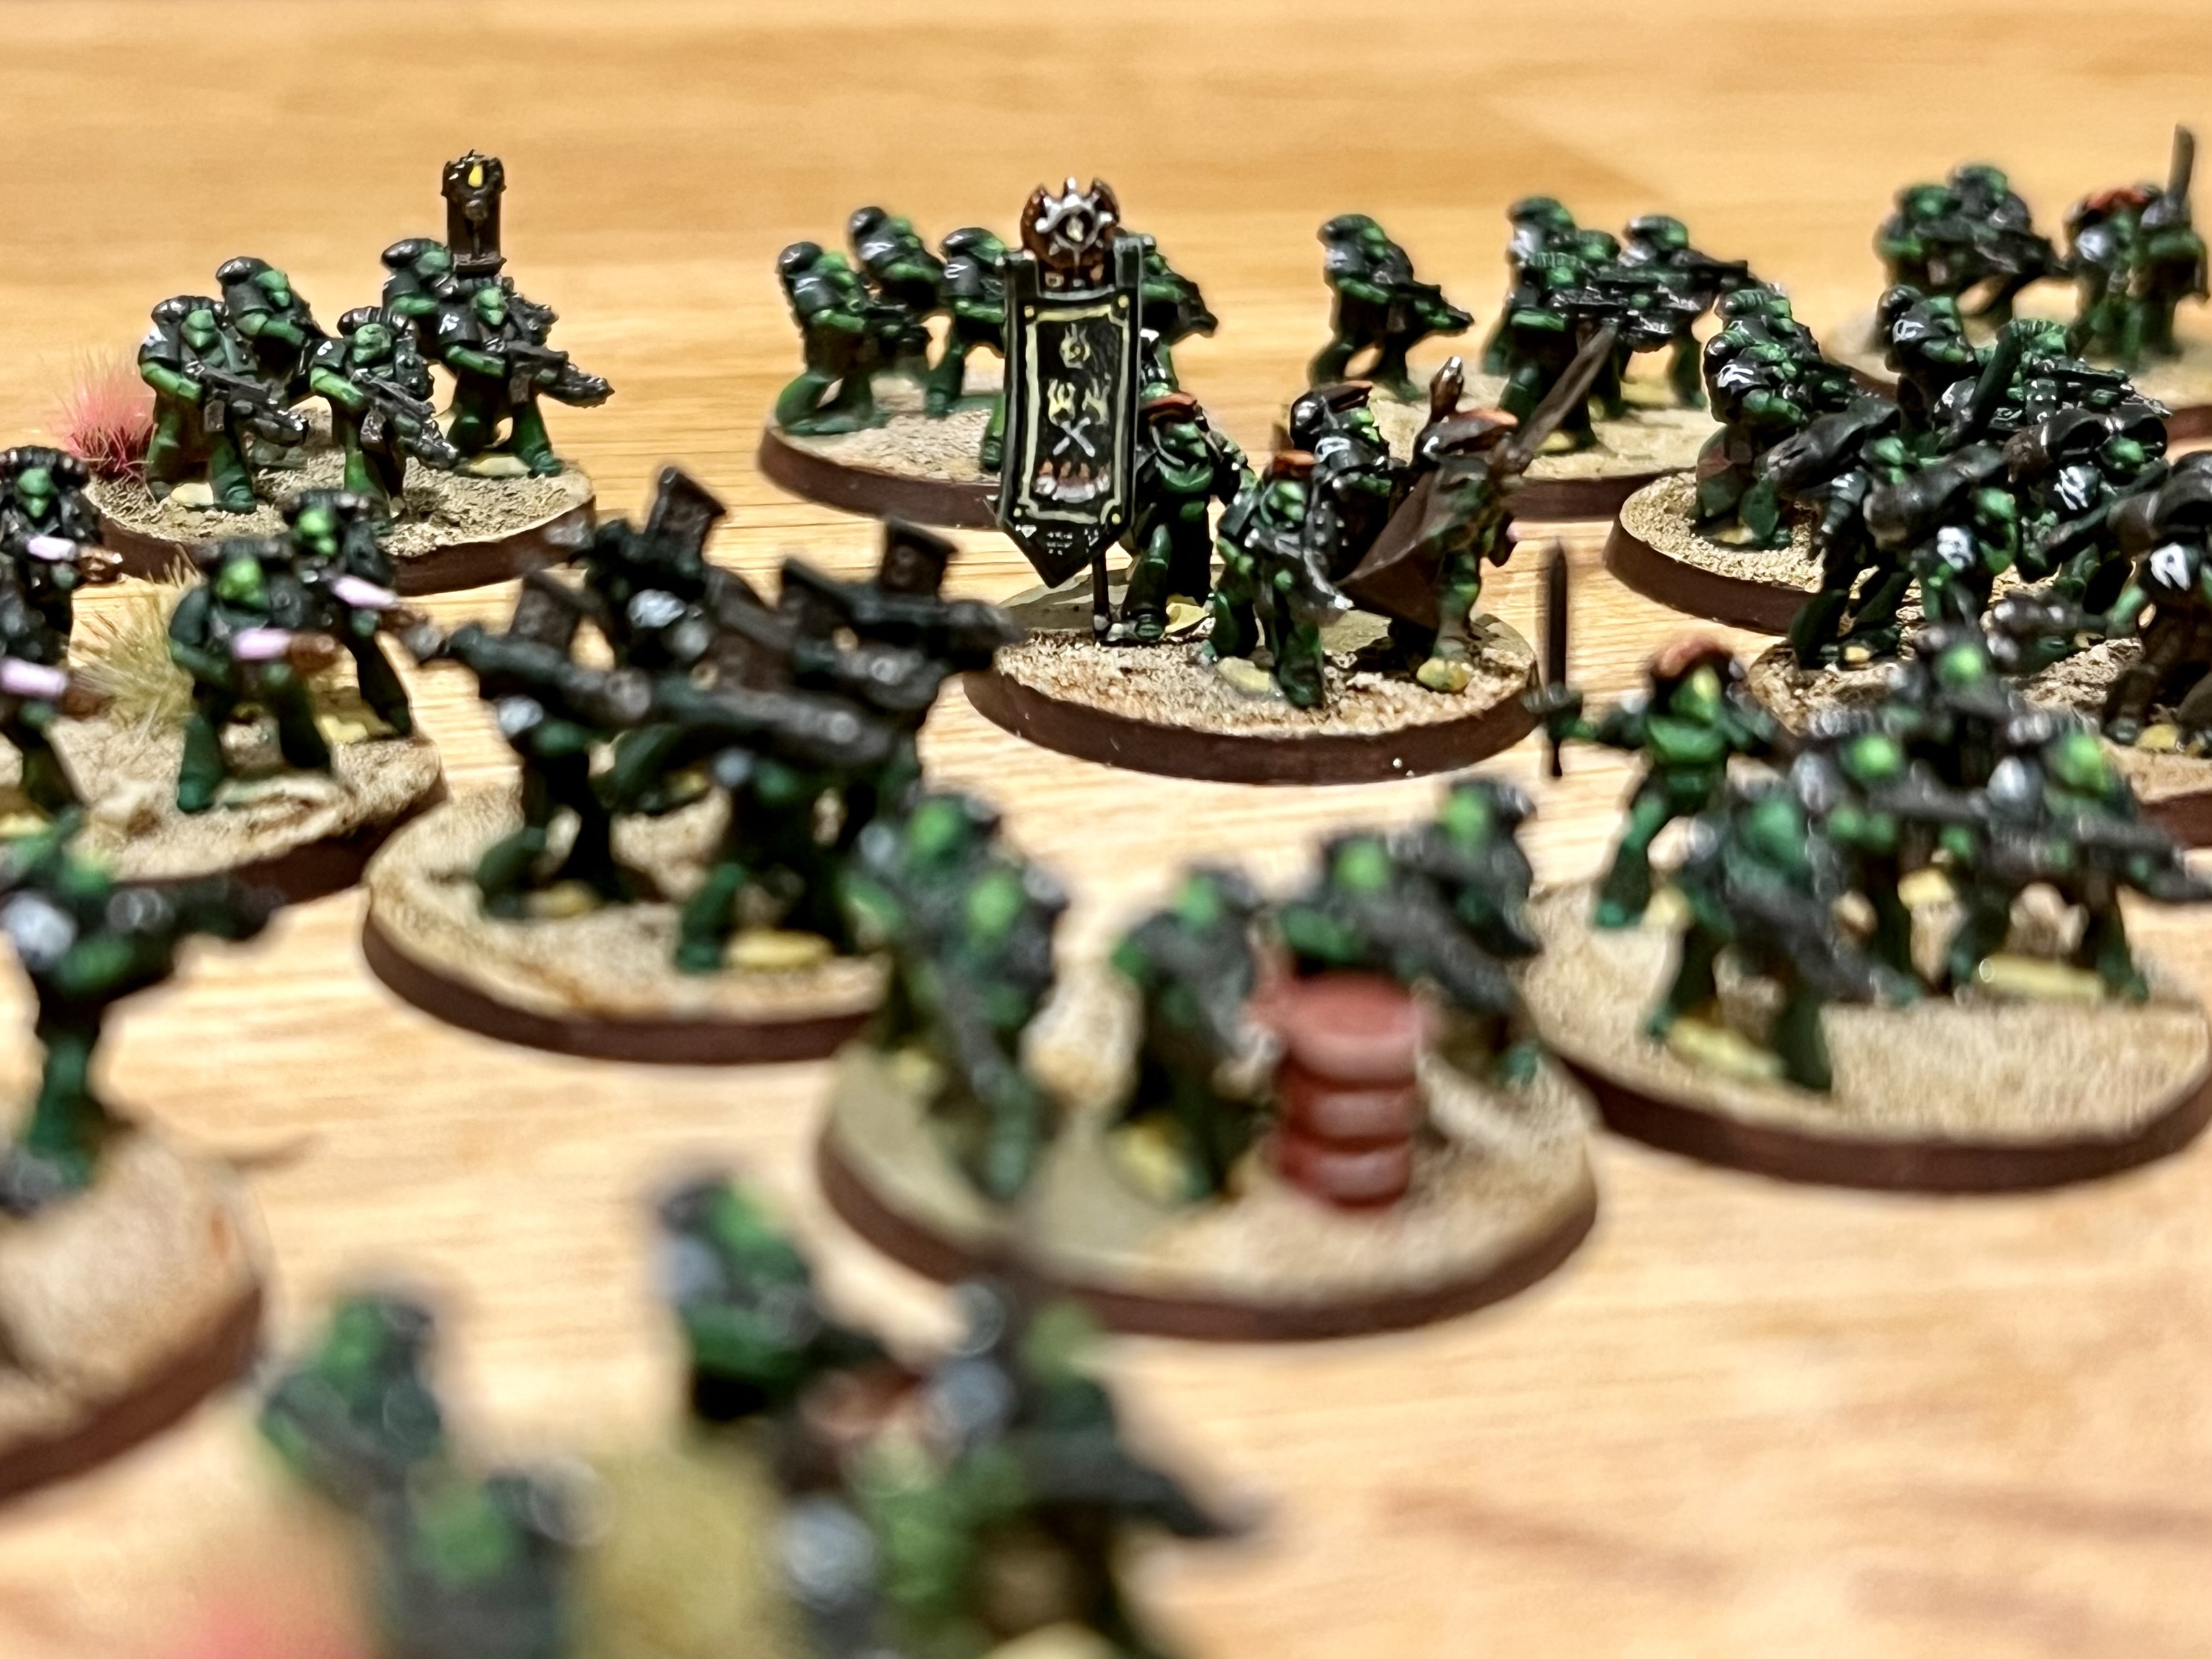
+ Work on the Salamanders continues, and I'm getting towards the end of the first box of infantry. It's still slow progress, but I'm reassured that this is mainly owing to lack of opportunity rather than the process itself being slow. +

+ Thus far I've completed thirteen stands, with more well on the way. Since I'm theming these around the M41 era, I'll have to start to be a bit careful with planning – the Salamanders' shoulder pad and icon changes colour depending on the Company. As you can see above, there are eight stands of boltgun-armed marines finished up, which equates to four Tactical squads. +
+ A Codex Battle Company consists of six Tactical squads, two Assault Squads and two Devastator Squads – but this is slightly muddied by the fact the Salamanders operate a non-Codex organisation, with slightly larger Companies in different proportions: seven Tactical squads, three Devastator squads and two Assault squads. This gives me a little leeway, and helps to explain the plasma gun stands. +
+++
+ Regardless, I'm going to have to start thinking about army composition – but this sort of minutiae can be part of the fun of planning an army. I'm also looking forward to the visual appeal of different companies appearing on the board – the 'grand sweep' is part of what makes Epic so appealing to me. +
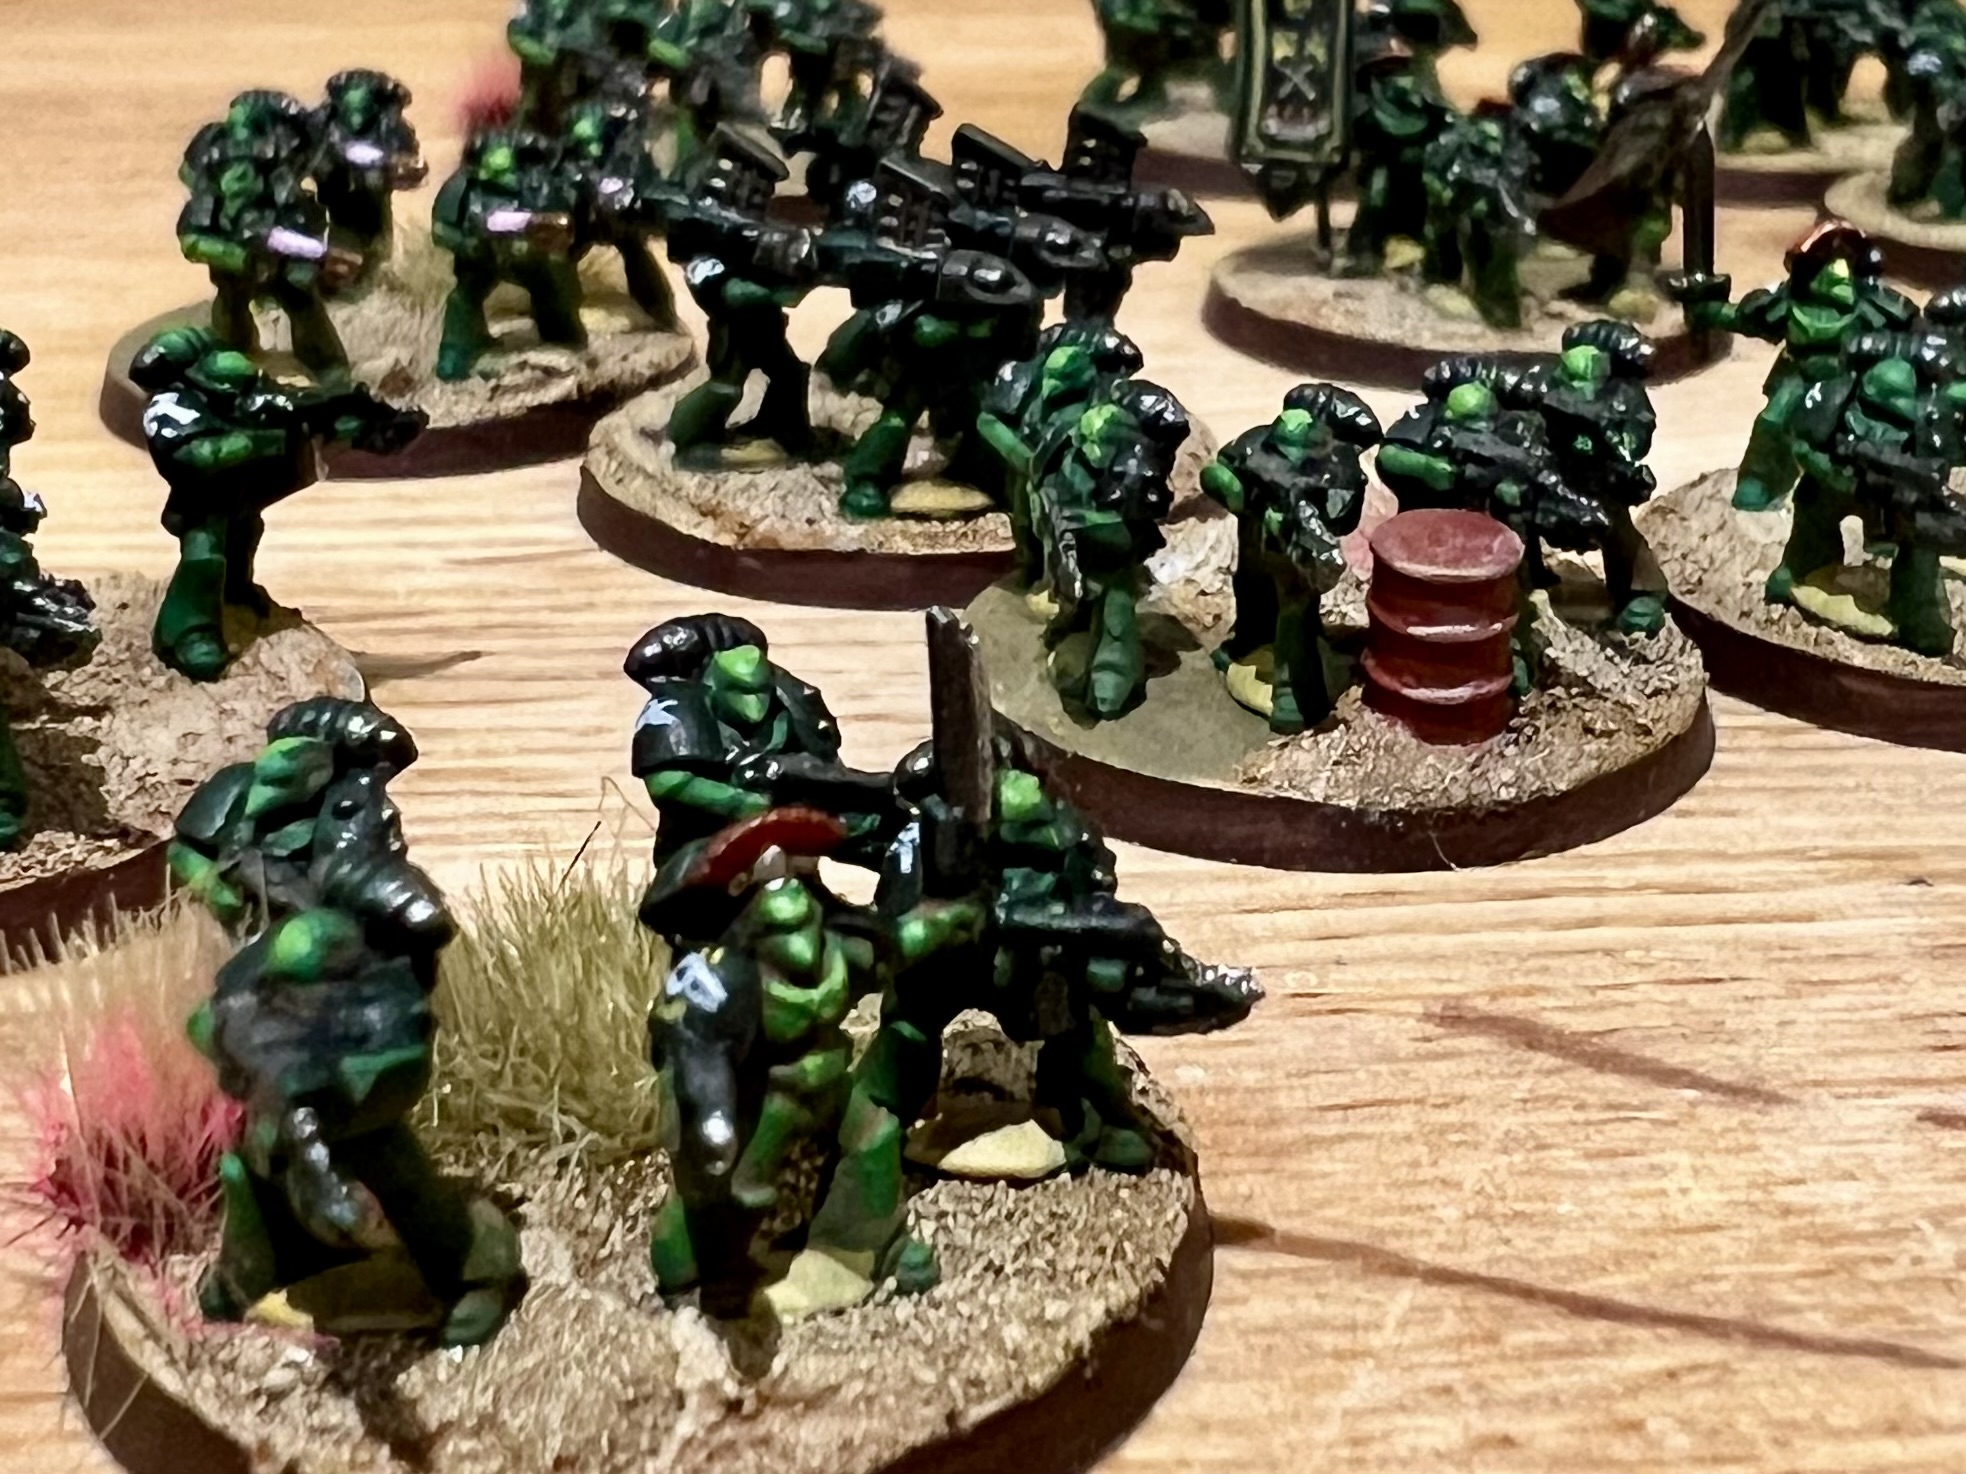
+ The paint scheme is detailed in a previous inload [+noosphericinloadlink embedded+], but here's a better close-up picture. +
+++
+ Salamanders armour +
+ The tanks are also progressing – and much quicker than the infantry. The harder lines make drybrushing and washes work better than on the curves of the foot soldiers. +
+ Drybrushing is one of those techniques that's often dismissed. It's quick, effective and easy to understand – and as a result is often one of the first techniques beginners pick up. As painters develop, the distinctive slightly textured results start to look a little amateurish, they move on to more technically challenging techniques such as edge highlighting, wet blending or zenithal highlighting instead, and the technique is filed away for basing and little else. +
+ I think that's a shame. Amateur, after all, simply means that you're doing it because you enjoy it, rather than for payment, so I encourage you to pull this often derided technique back out of your box of tricks. +

+ These tanks were sprayed brown, then Colourforge's Salamander Green sprayed on at an angle. Once dry, I gave them each two successive drybrushes; firstly of a mix of Warpstone Glow and Moot Green, and then a mix of Moot Green and cadmium yellow. +
+ Drybrushing relies not, as is commonly thought, simply of having very little paint on the brush, but rather the paint on the brush having little liquid in it. If the paint has any fluidity, it'll tend to catch, flow and streak – you can see the effects on the Predator on the right. The blotchy, scratchy look caused by being heavy-handed with the technique is generally what people associate with drybrushing – done properly, the effect is much more subtle, as you can see in the example on the left. +
+ My tips for getting good results from drybrushing:
- Use a relatively large, soft brush. A make-up brush is ideal.
- Work in a cool area so your paint doesn't dry too quickly on your palette. This seems counter-intuitive, but you want the paint at just the right consistency – once there, you don't want it to dry completely, or it'll start clumping, giving more textured results.
- Try to work in an irregular way, rather than back-and-forth.
- Load the brush with small amounts of paint
- Slowly and gently roll the loaded brush over a piece of kitchen paper to draw out the carrier from the paint, leaving the pigment and binder.

+ Markings +

+ Waa-Ghazghkull! 'Ere we go +

- Paint the models first
- Mix and match them with other, slightly smaller, ork kits. You'll get a more natural range of sizes and suitably orky variety.
+ Steel Legion +

Beautiful. Everything is so beautiful! Please keep on bringing these tiny marvels :)
ReplyDelete